

Headless CMSes have caught on in popularity recently. When building a CMS for the Data Narratives Blog, we wanted to try one out. While there are plenty of specialized solutions, we went with Notion. It’s stable, everyone is familiar with it, and has a super easy to use API.
Setting up a Notion Database
To use Notion as a headless CMS, we first had to set up a database that would have all of our blogposts. This was easy! I created a few fields (like an excerpt, a hero image url, tags, and author name). I also created a field called Status, so that we could work on drafts without publishing them.
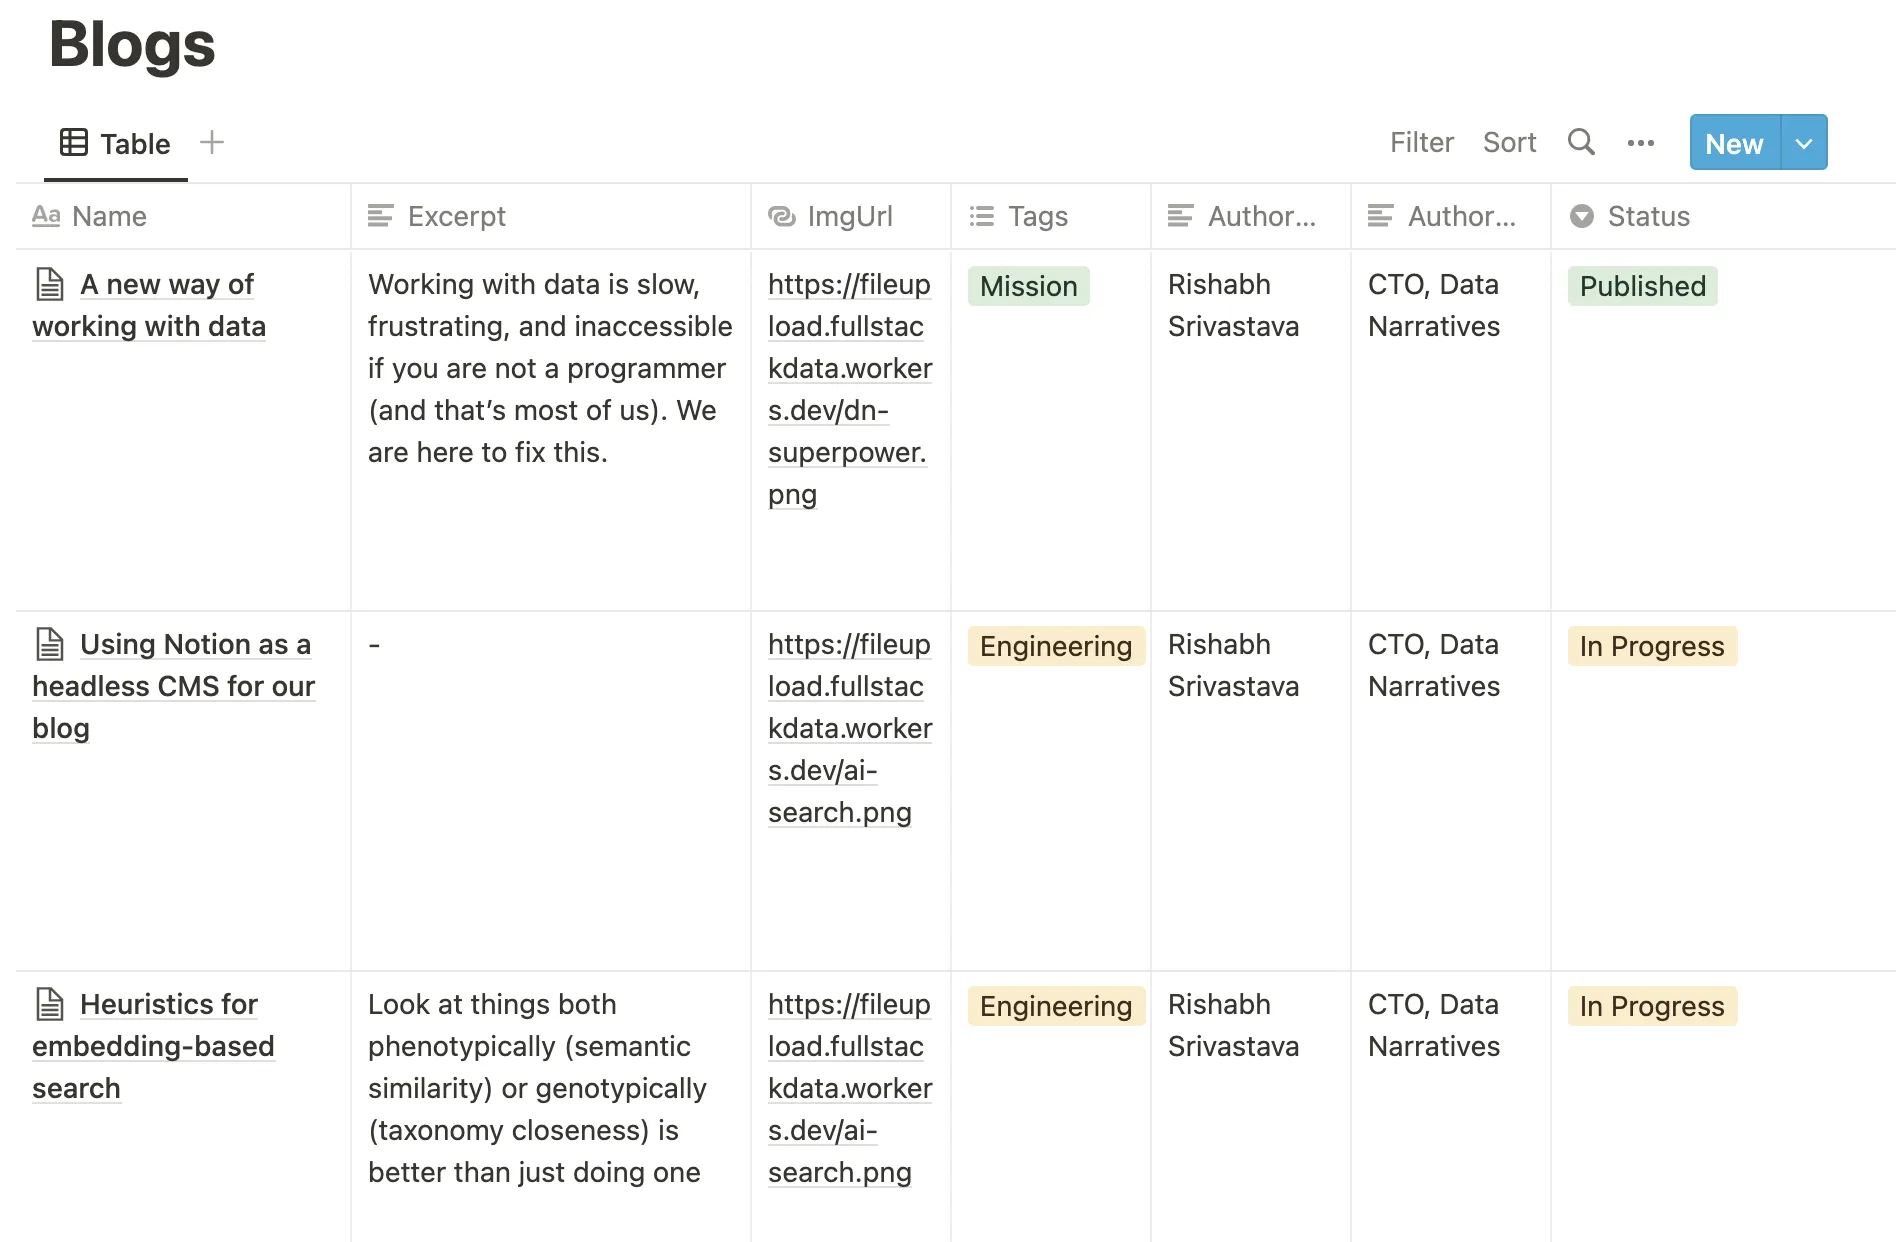
Notion automatically includes fields like created_at and updated_at in its API, so we did not have to worry about them.
Connecting the Database with an API
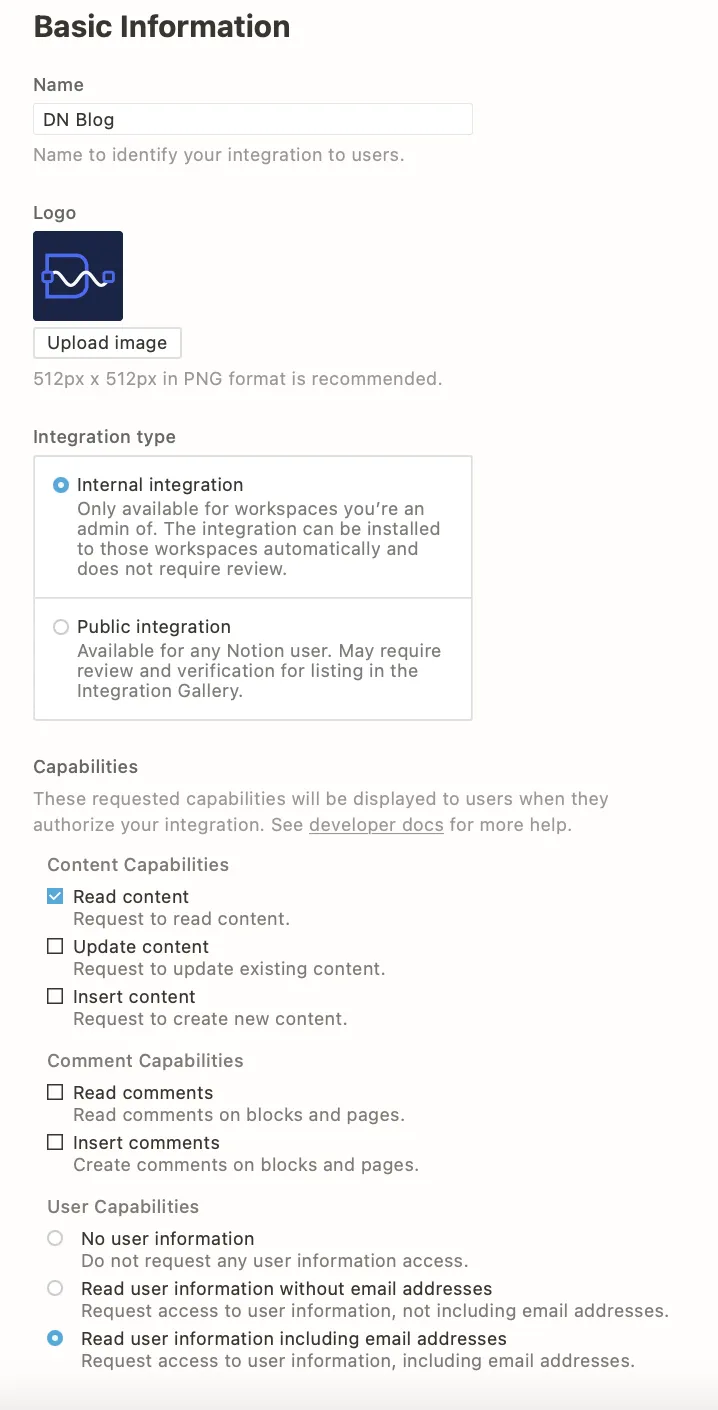
Next, I created an integration by going to https://www.notion.so/my-integrations, and specifying the “capabilities” of the integration. I chose an internal integration with read only access. After this, notion issued an internal integration token.
Once this was done, I had to add my integration as a connection to the Database, like in the image below.
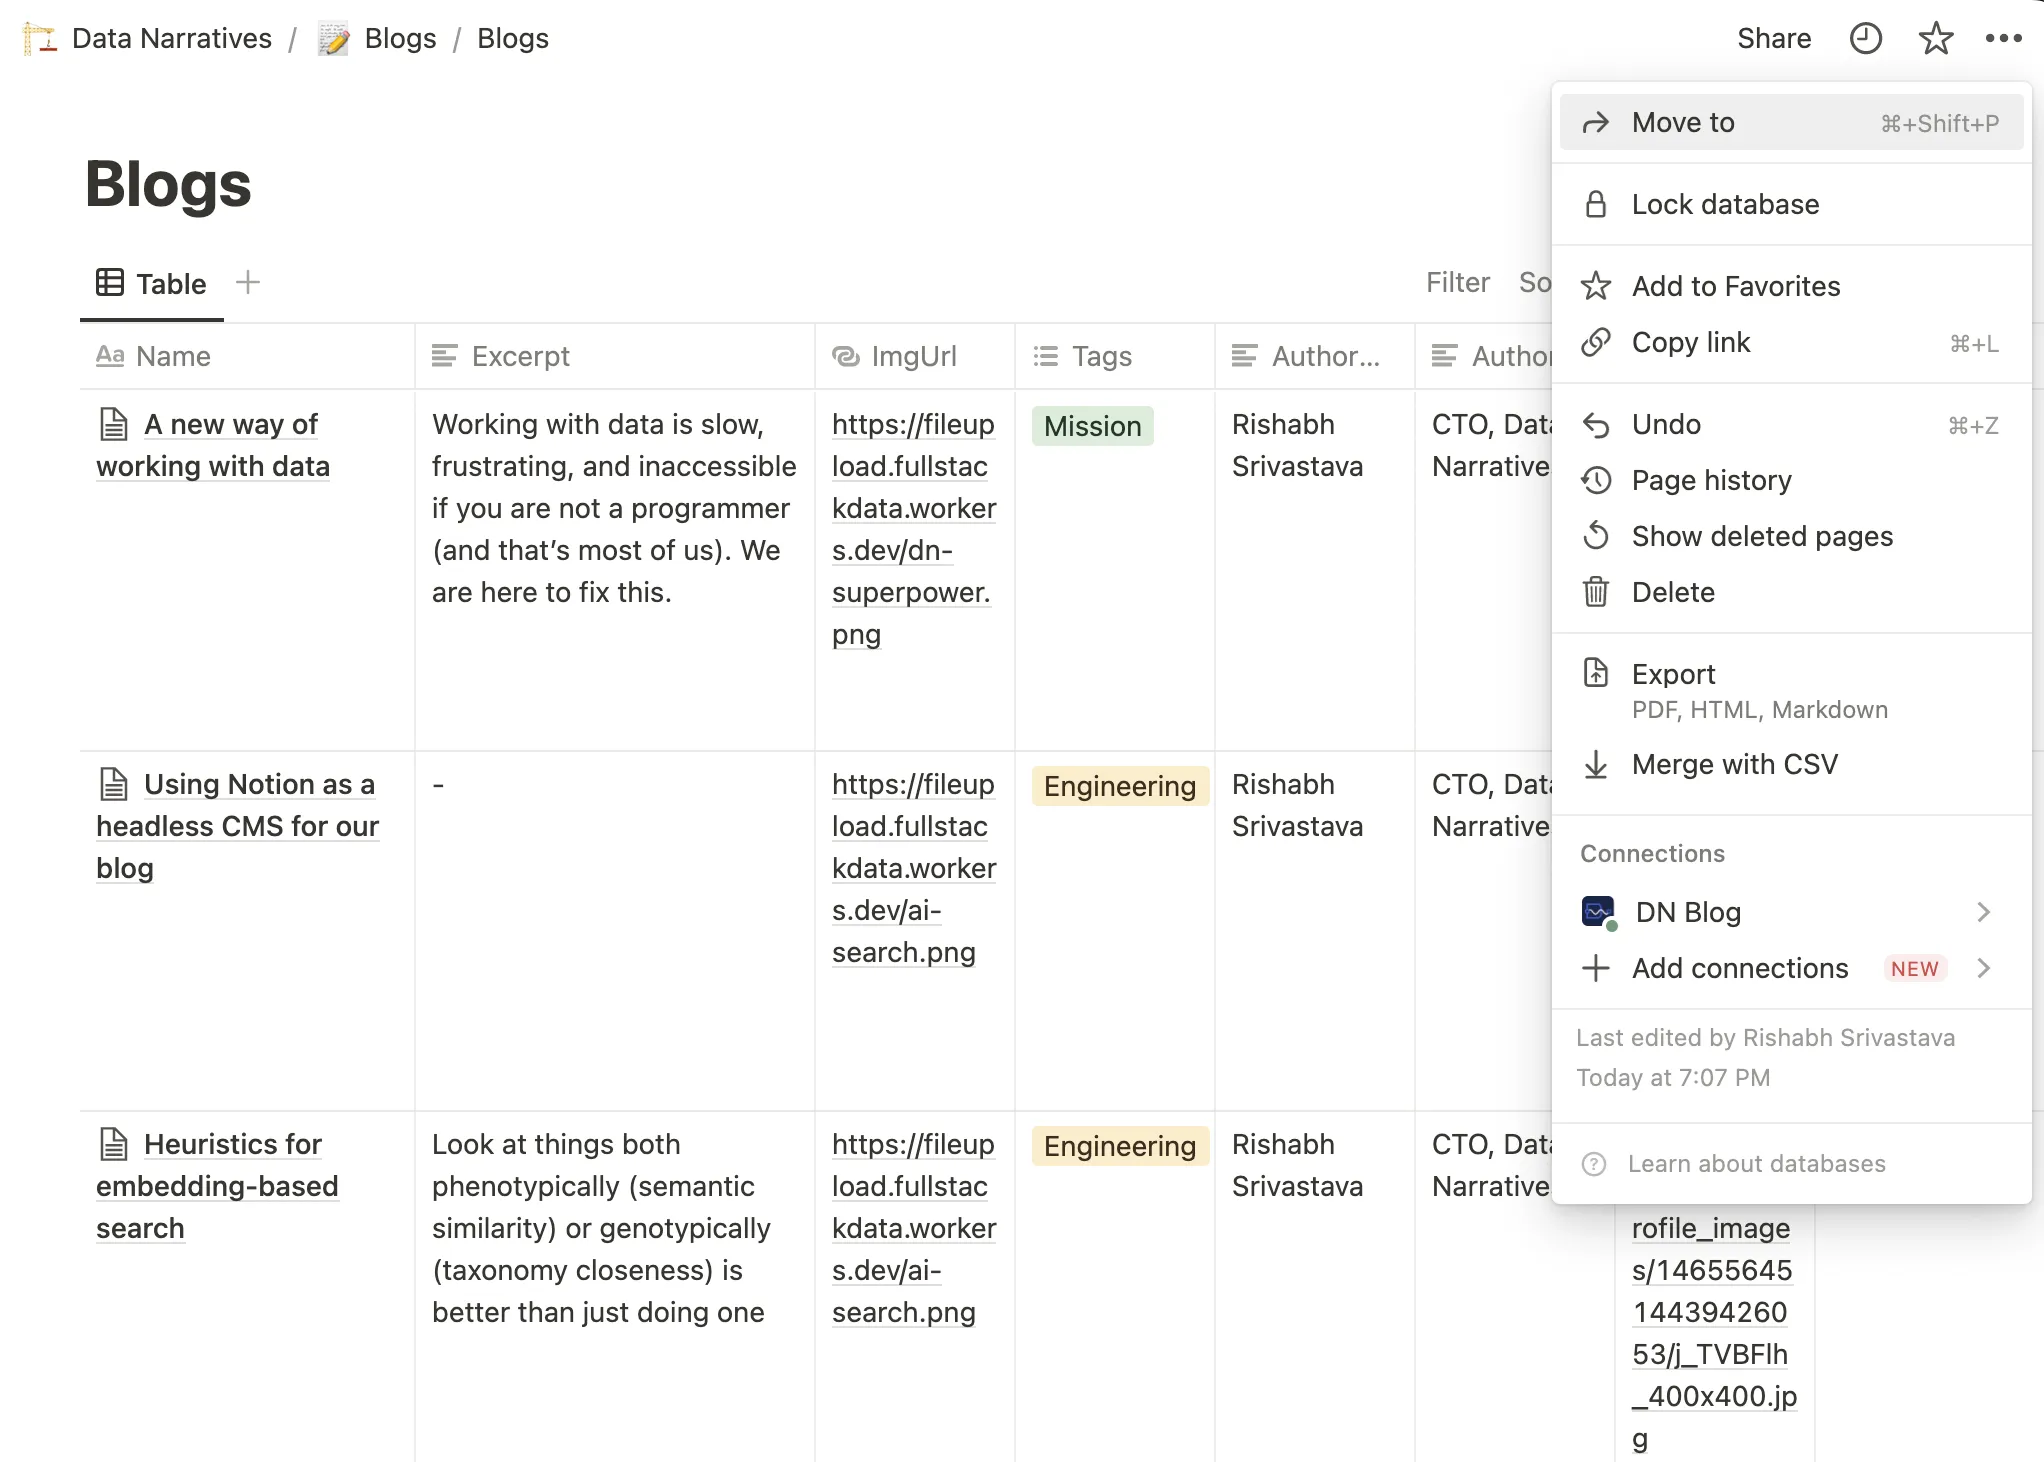
Additionally, I also needed the database id. To get it, I needed to look at the URL of the database by going to the share menu. More on that here.
https://www.notion.so/myworkspace/a8aec43384f447ed84390e8e42c2e089?v=...
                                  |--------- Database ID --------|
Integrating the Notion API with NextJS
Once I had the integration token, database id, and had connected the database with the integration, I could use Notion’s official client library (@notionhq/client) to get data from the database.
I liberally lifted code from Samuel Kraft’s wonderful notion-blog-nextjs repository on Github to do this.
And that’s it! Samuel repo does most of the heavy lifting. You will have to do some additional work to enable embeds, callouts, quotes etc.
Sample code for getting all items that were marked as published in the database is below!
export const getStaticProps = async () => {
  const databaseId = "610489ee90164deba22a9da545da9a5e";
  const database = await getDatabase(databaseId);
  const posts = database.filter((item) => item.properties.Status.select.name === "Published");
  return {
    props: {
      posts: posts,
    },
    revalidate: 60,
  };
};
Future changes
We still have some teething issues. The url slug is Notion’s page id instead of something semantically meaningful, code snippets (like the one above) display – but don’t have any colors on them. We’ll fix those soon. For now, this is a pretty easy way to blog 😀
← More blogs